1. The Artistic Vision
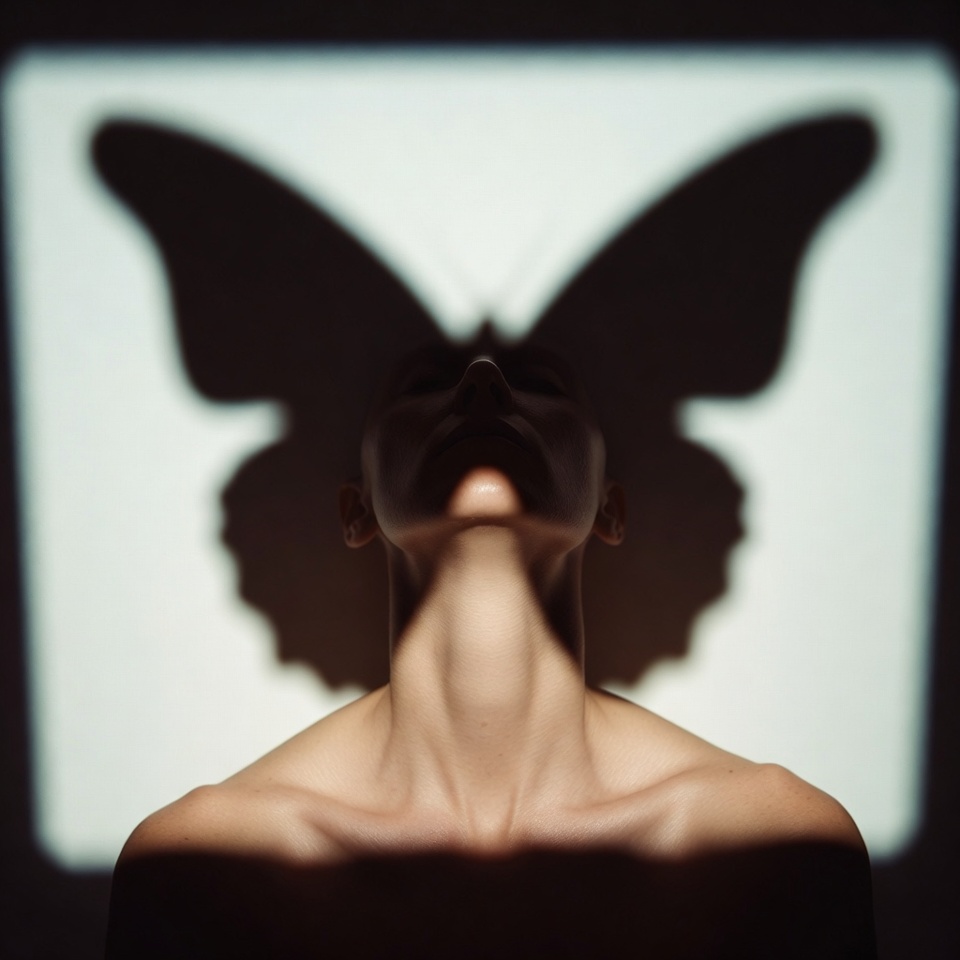
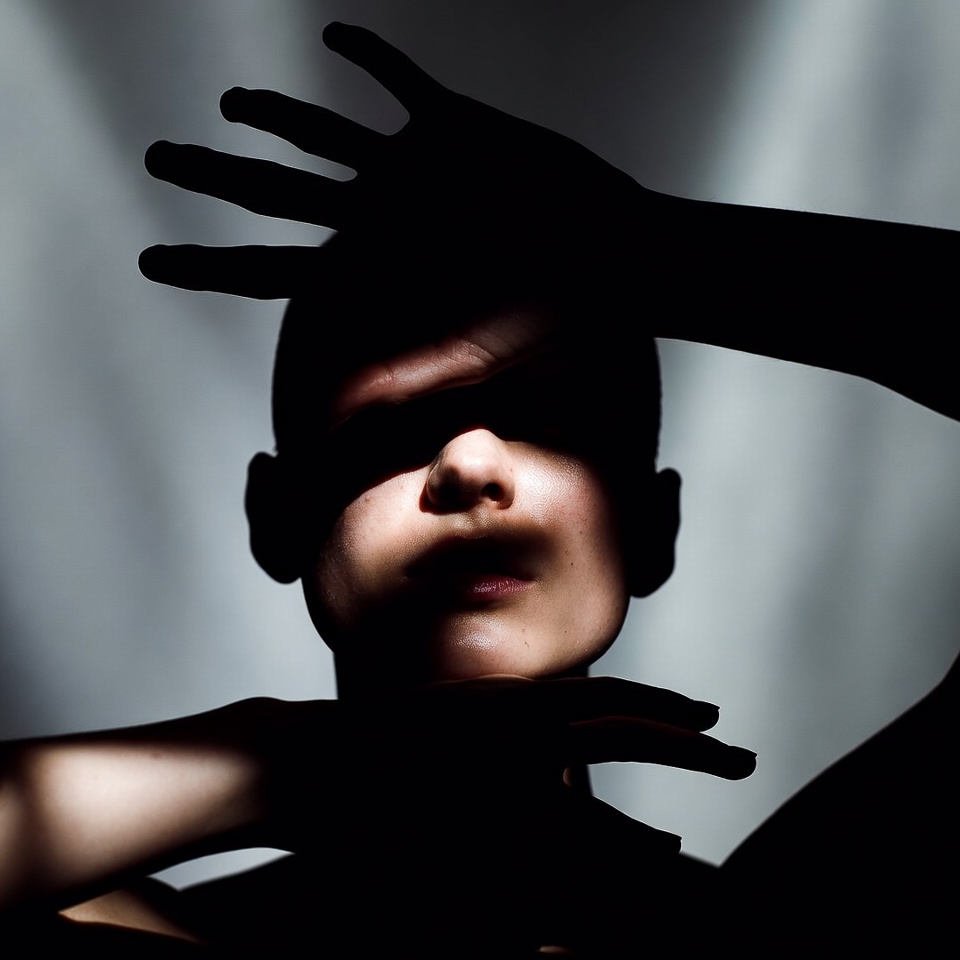
A silhouette portrait is already a weaponized graphic statement pure shape, pure intent. When you fuse Silhouette with Butterfly Lighting, you’re deliberately turning the subject into a high-contrast emblem: recognizable, but withheld. Add a Wide Angle 24mm perspective and the image stops behaving like a polite portrait; it becomes confrontational, immersive, and slightly distorted in a way that reads as dangerous like the viewer has stepped too close to something they shouldn’t.
The result is a frame that feels predatory and cinematic: luminous edges, swallowed midtones, and a subject that communicates threat through posture and geometry rather than facial detail. It’s not “mysterious.” It’s charged.
2. The Master Prompt (Copy-Paste Ready)
Midjourney / Stable Diffusion Formula:
3. Anatomy of the Shot (Technical Deep Dive)
Why this Lighting?
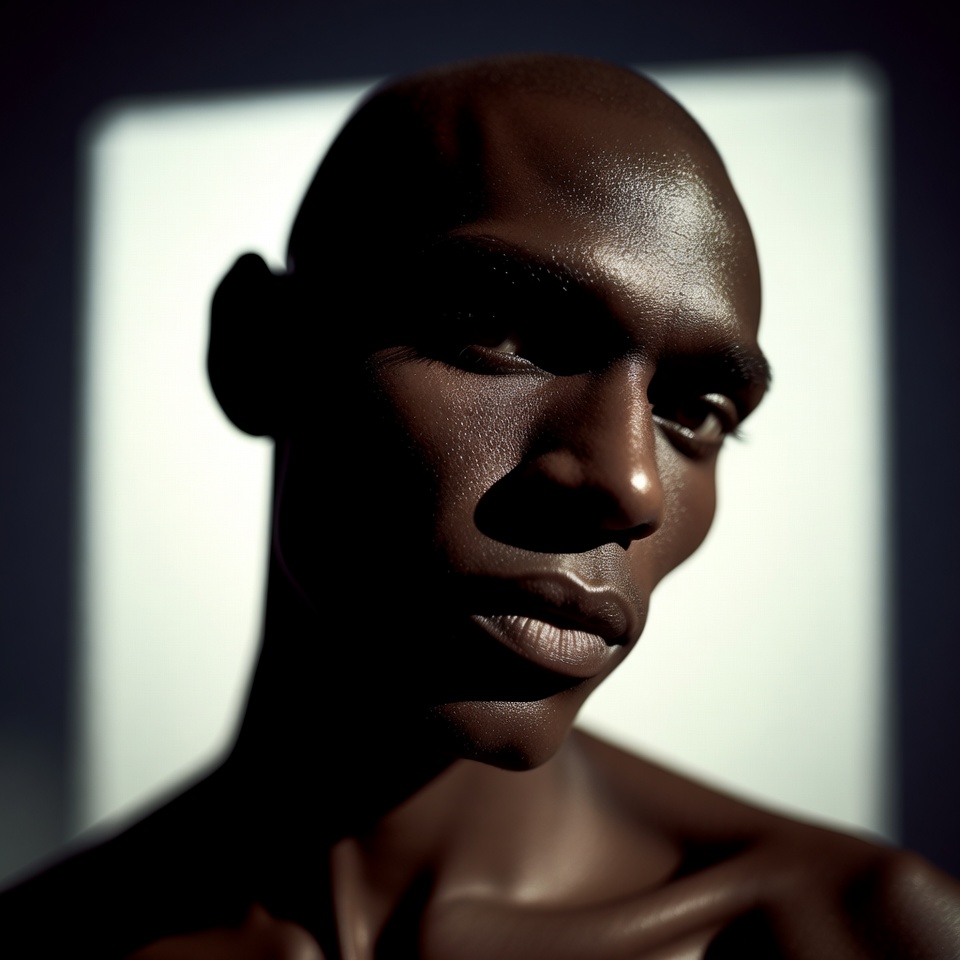
Butterfly Lighting places the key light high and centered, shaping the face with symmetrical falloff and a signature shadow under the nose (the “butterfly”). In a conventional beauty portrait, it flatters. In a silhouette, you’re repurposing it: the high key placement becomes an edge-making machine defining the brow ridge, nose bridge, lips, and shoulders as a crisp perimeter against a brighter field.
To intensify the danger read:
- Push the scene toward hard light (small source, farther distance) so the silhouette boundary is razor-clean.
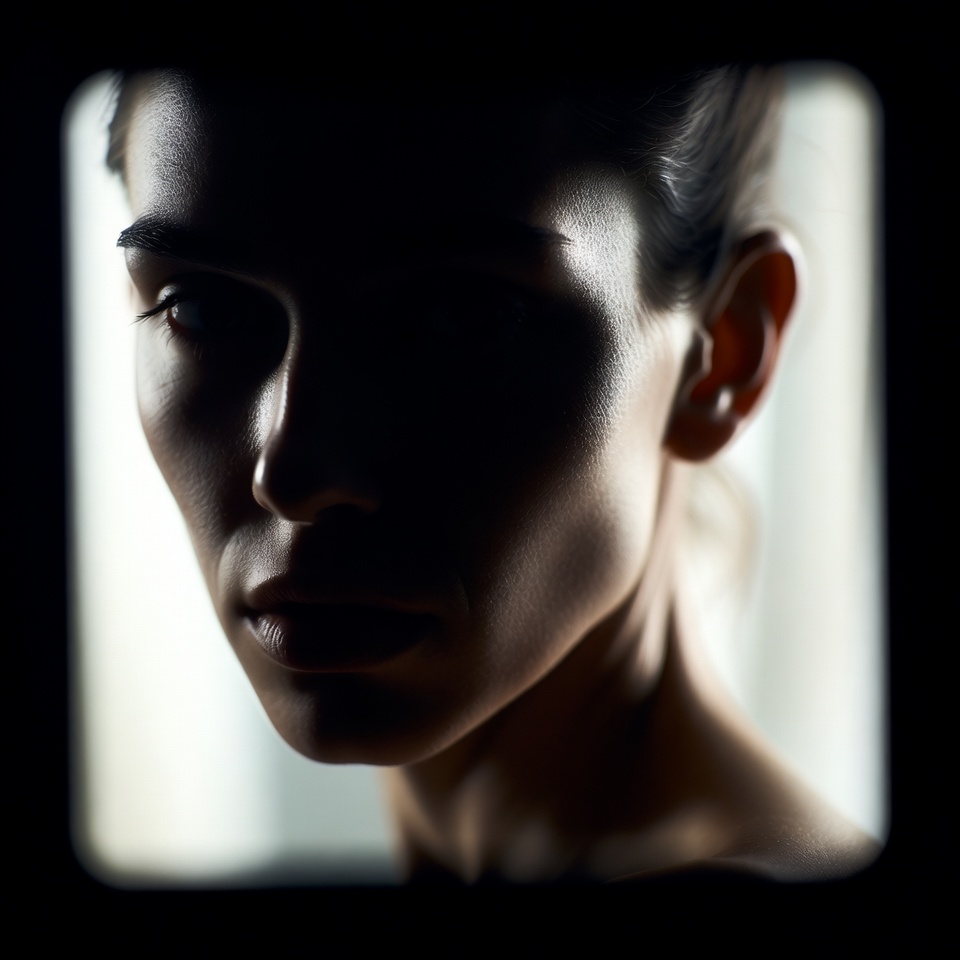
- Let the face go one stop darker than expected; human brains interpret hidden facial information as threat detection mode.
Why this Angle?
A Wide Angle 24mm is inherently psychological. It exaggerates spatial relationships:
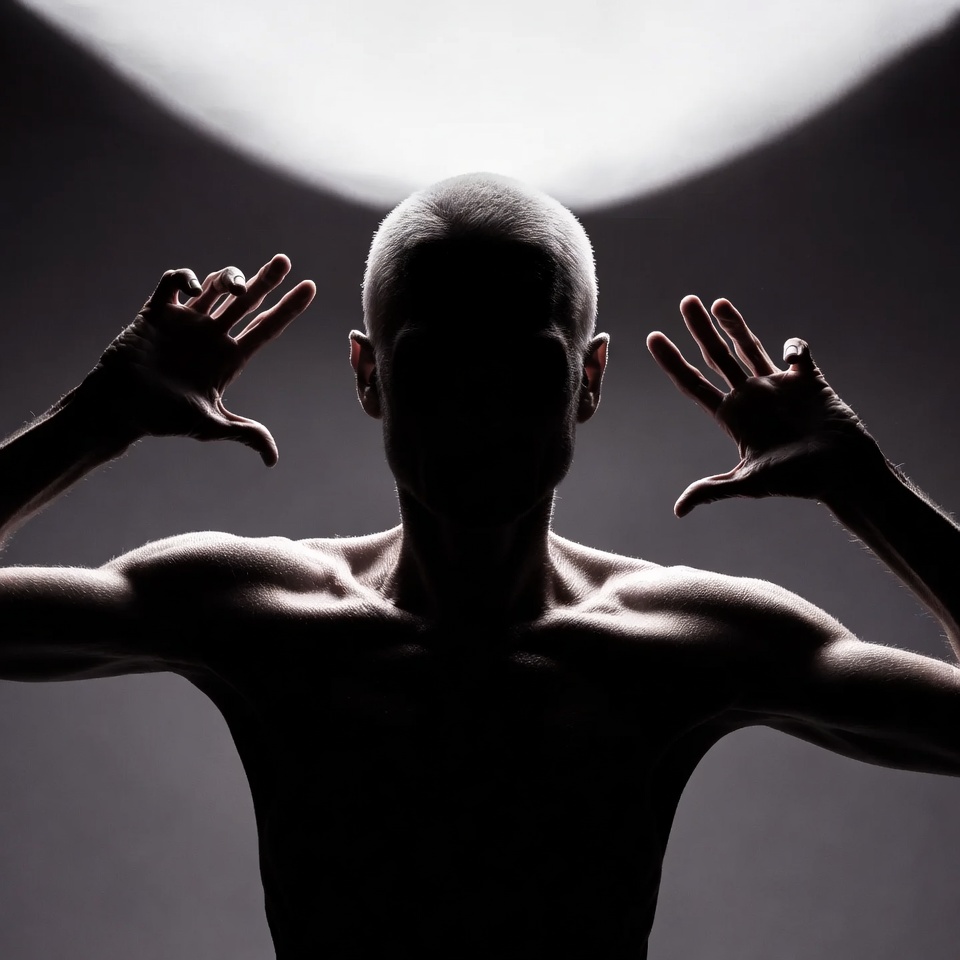
- Anything closer to the lens feels dominant (hands, shoulders, jawline).
- Background elements stretch and loom, creating a surveillance / pursuit energy.
- Even a subtle lean forward reads as aggression.
Used carefully, 24mm delivers controlled distortion enough to feel unstable, not enough to look like comedy.
Why this Composition?
Frame within a Frame is a visual trap. Doors, windows, railings, curtains, mirrors these act like containment geometry. For a dangerous mood, that containment can read two ways:
- The subject is caged (contained threat).
- The viewer is being pulled inward (approaching threat).
Technically, it also gives you layered contrast zones: bright outer frame, mid-tone environment, black subject. That hierarchy makes silhouettes read instantly even at thumbnail size.
4. Color Palette & Aesthetics
Recommended Color Palette: Crushed Blacks + Sodium Amber + Cold Steel Blue
- Crushed Blacks: commit to the silhouette; don’t “save” shadow detail.
- Sodium Amber highlights: suggests streetlight, heat, danger, and urban tension.
- Cold steel blues: adds distance and clinical menace in the negative space.
Textures to expect (and encourage):
- Film grain (fine, not chunky) for threat realism.
- Smoked glass / wet asphalt / brushed metal for reflective micro-contrast.
- Haze used sparingly to bloom the frame edges without washing the subject.
5. Pro Tips for Refinement
Tip 1 (Stylization Control):
- Midjourney: For sharper editorial menace, drop
--stylizefrom 250 → 100–175 to reduce “pretty” interpretation and keep geometry strict. - Stable Diffusion: Use CFG 5–7 for realism; higher CFG can force unnatural edges that break the silhouette illusion.
Tip 2 (Subject Matter That Sells “Dangerous”):
Silhouettes communicate through gesture and silhouette language. Prioritize subjects with readable outlines:
- Long coat, angular shoulders, gloves, severe collar lines (graphic threat cues).
- Profiles with strong nose/forehead separation for iconic edge definition.
- Hands placed slightly forward (24mm will amplify dominance) but keep them anatomically plausible.
Optional refinement phrases you can append (if your generator supports them):
- “hard rim light, deep negative fill, high contrast, cinematic tension, backlit haze”
6. FAQ (Rich Snippet Optimized)
Q: Can I use this prompt for Film Noir or Cyberpunk?
A: Yes. Keep the same structure and swap only the style token (e.g., “Film Noir” or “Cyberpunk”), then adjust the palette toward monochrome (noir) or neon accents (cyberpunk).
Q: What creates the Dangerous feeling in this shot?
A: The information denial of the silhouette (reduced identity cues) plus 24mm spatial exaggeration (dominance distortion), reinforced by frame-within-frame containment that implies pursuit, surveillance, or entrapment.